 Skip to content


Artistic Makeup Looks for Beginners: A Step-by-Step Guide
Quick Summary
Artistic makeup looks for beginners start with one bold element, such as a graphic eyeliner shape and a single pop of color, with the rest of the face kept soft and neutral. You do not need an art background, only the right basics and a clear order of steps. Artistic makeup looks work best when one focal point carries the design.
- Pick one focal point and keep the rest of the face soft and neutral.
- A starter kit needs four tools: a dramatic eyeliner pencil, a tapered brush, a flat shader or detail brush, and cream dabbers.
- Apply a thin layer of primer to the lids and let it set for a minute before adding color.
- Draw graphic liner in two or three light passes rather than pressing hard in one stroke.
- Blend color edges within 30 seconds of placing them, while the product is still workable.
Table of Contents
- Why Artistic Makeup Starts With One Bold Element
- Beginner Makeup Tools You Actually Need
- Step 1: Prep the Lids and Set Your Base
- Step 2: Build a Beginner Graphic Eyeliner Shape
- Step 3: Add Color With Easy Creative Makeup Looks
- Common Beginner Mistakes and How to Fix Them
- How to Make Makeup Last All Day and Remove It Gently
- Frequently Asked Questions
Artistic makeup looks for beginners start with one bold element, not a full face of drama. This guide from Artonit walks you through a simple, repeatable routine built around a graphic eyeliner shape and a single pop of color.
Most beginners overload their first attempt with too many colors and too many techniques. The result looks busy, not artistic. Pick one focal point, keep the rest of the face soft and neutral, and the look reads as intentional.
Why Artistic Makeup Starts With One Bold Element
Artistic makeup is about a deliberate focal point. Think of your eyes as the canvas and your liner or shadow as the brushstroke that carries the design.
This approach is a way to express identity without needing advanced skills. A single graphic line or a clean wash of color does more for a beginner than a dozen shades layered without a plan.
Beginner Makeup Tools You Actually Need
You do not need a large kit to start, but you do need the right four tools. Explore the cream dabbers for placing color in thin layers. Browse the dramatic eyeliner pencil that suits graphic shapes. Most beginners buy too many brushes and too few of the right ones. A small, reliable set covers every artistic look in this guide.

The four-tool starter kit
- A dramatic eyeliner pencil for graphic shapes, such as the Le Crayon Dramatique Yeux, which offers a creamy, blendable texture for both precise lines and softer effects. Look for a pencil that glides without tugging; if it skips, warm the tip on the back of your hand for a few seconds before drawing.
- A tapered eyeshadow brush for placing color along the lower lash line and softening edges. A tapered brush lets you control the width of the color, press lightly for a thin line, press harder for a wash.
- A flat shader or small detail brush for crisp edges and packing color onto the lid. Flat brushes hold more product and deposit it evenly; detail brushes give you precision at the outer corner.
How to choose tools by eye shape
Generic tool lists ignore the biggest variable, your eye shape. A few adjustments make any beginner kit work harder:
- Hooded eyes: use a flat shader brush to place color slightly above the crease so it stays visible when the eye is open, and a detail brush for liner that won't transfer.
- Round eyes: a tapered brush along the lower lash line adds width and balances the shape.
- Almond eyes: most standard brush shapes work; focus on a detail brush for a sharp wing.
Budget tiers that actually matter
You can build a working kit at three price levels without sacrificing results:
- Starter (under $25 total): one eyeliner pencil, one dual-ended brush (shader on one side, tapered on the other), and a set of cream dabbers. This covers liner, lid color, and lower-lash color.
- Mid ($25-$60): add a dedicated detail brush and a second shader so you are not cleaning one brush between colors.
- Full ($60-$120): add a small blending brush and a brush case. At this level, brush quality matters more than quantity, two good brushes beat six mediocre ones.
Hygiene: the step beginners skip
Dirty tools can lead to muddy color and ruined brush hairs. A simple weekly routine protects your kit:
- Wipe pencil tips and dabber surfaces with a cotton pad after each use.
- Wash brushes weekly with a mild soap or brush cleanser, swirl in the palm, rinse until the water runs clear, and reshape the bristles.
- Dry brushes flat with the bristles hanging over the edge of a counter so water does not loosen the glue in the ferrule.
- Replace eyeliner pencils when the tip smells off or drags.
With these four tools and a five-minute weekly clean, you can execute every look in this guide without buying a single extra product.
Step 1: Prep the Lids and Set Your Base
Good prep makes every later step easier. Apply a thin layer of primer or a small amount of concealer to the lids, then press it in with a fingertip.
Keep the rest of the base light. A sheer foundation or skin tint is enough, because the eyes will carry the look.
Watch out: Heavy cream on the lids can make shadow crease. Use a thin layer and let it set for a minute before adding color.
Step 2: Build a Beginner Graphic Eyeliner Shape
A graphic shape is simply a line with a clear start, a clear end, and a defined wing. Beginners get the best results by working in small steps.
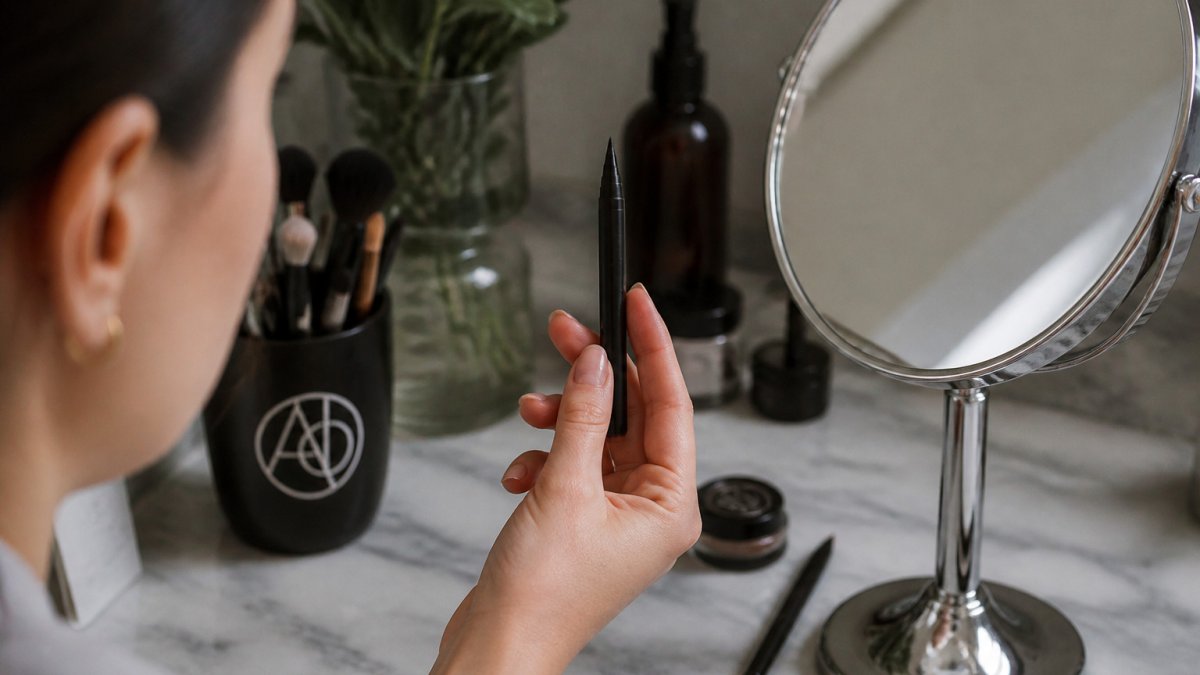
- Look straight ahead and draw a thin line close to the lash line.
- Mark the outer point of your wing at a slight upward angle.
- Connect the wing back to the lash line, then fill the gap.
- Clean up any shaky edges with a cotton swab dipped in makeup remover.
Use a slow, steady hand. If the line wobbles, pause, breathe, and continue from the last clean point.
Step 3: Add Color With Easy Creative Makeup Looks
Once the liner is set, add color to the lower lash line or a small area of the lid. For a vivid pop, try the Ombres Artistiques eyeshadows, which are intensely pigmented and offer smooth, blendable color with minimal fallout. For a second, more accent-focused option, the Ombres Accent shades help add depth and definition to the crease or outer corners.


A simple creative look could be a single bright shade along the lower lash line, paired with black liner on the upper lid. Blend the edges softly so the color looks like part of the design.
The article's product options for adding color, in its own terms:
| Product | Best for | Key difference |
|---|---|---|
| Ombres Artistiques eyeshadows | A vivid pop of color | Intensely pigmented, smooth and blendable, minimal fallout |
| Ombres Accent shades | Depth and definition | Used in the crease or outer corners |
Common Beginner Mistakes and How to Fix Them
Most early problems are easy to correct once you know what to watch for. The fixes below go beyond the usual list by explaining the mechanism behind each mistake and adding two angles most guides skip: color theory and face-shape customization.
The four core mistakes
- Too many colors at once. Choose one bold element and keep everything else neutral. The reason: the eye reads contrast, not quantity. Two competing brights cancel each other out; one bright against a neutral base reads as intentional.
- Skipping primer. Color slides and creases without a base. Add a thin layer before you start and let it set for a minute. Primer creates a surface that helps hold pigment.
- Pressing too hard with liner. Light pressure gives cleaner lines and less tugging on the lid. Heavy pressure skips over the skin and creates jagged edges, let the pencil do the work and build the line in two or three light passes.
The color theory mistake almost every beginner makes
Most beginners pick colors by what looks pretty in the pan, not by what complements their skin undertone. That is why a shade that looks vivid on a friend can look muddy or washed out on you.
- Identify your undertone. Look at the veins on your inner wrist in natural light: blue or purple veins suggest a cool undertone, green veins suggest warm, and a mix suggests neutral. This is a common rule of thumb, use it as a starting point.
- Match, don't fight. Cool undertones tend to suit berry, plum, and blue-based shades; warm undertones tend to suit peach, coral, and gold-based shades. Neutral undertones can wear most shades but should avoid extremes.
- Use color correction sparingly. A peach or salmon corrector neutralizes blue-toned dark circles; a green corrector neutralizes redness. Apply corrector only where you need it, then follow with a light concealer, layering corrector over the whole face is the fastest way to a cakey look.
The face-shape mistake generic tutorials miss
Most beginner guides apply the same contour and highlight placement to every face. That is why the result can look off even when you follow the steps exactly. Adjust placement to your face shape:
- Round faces: place contour slightly below the cheekbone and blend upward toward the ear; keep highlight on the high cheekbone and the center of the forehead to add length.
- Square faces: soften the jaw corners with contour and place highlight on the cheekbones and the center of the chin to draw the eye inward.
- Oval faces: most standard placements work; focus on blending rather than adding more product.
- Heart-shaped faces: contour the temples and the sides of the forehead, and highlight the cheekbones and the center of the chin to balance the wider top half.
The day-to-night mistake
Beginners often treat day and night looks as two separate routines. In practice, one look can transition with two small changes:
- Deepen the outer-corner color with a slightly darker shade from the same family.
- Add a second, thinner liner stroke along the upper lash line to sharpen the graphic shape.
That is it, no full redo, no new products. The same base, the same tools, and two minutes of extra work.
How to Make Makeup Last All Day and Remove It Gently
Long wear starts with prep and ends with a gentle removal routine. Read more about how these products are made and why they suit sensitive routines. Set your shadow with a light dusting of translucent powder, and avoid rubbing your eyes during the day.
At night, use a mild makeup remover on a cotton pad. Hold it against the lids for a few seconds, then wipe away the liner and color in short, soft strokes.
Frequently Asked Questions
How do beginners create artistic makeup looks?
Start with one focal point rather than trying to do everything at once. Choose either a graphic eyeliner shape or a single bold eyeshadow color, then keep the rest of the face simple with a neutral base and natural brows. Practice the main element on a day when you have time, and build confidence before adding a second statement feature. Consistency in prep, such as a clean lid and a thin primer layer, makes the artistic element look intentional rather than messy.
What makeup products do beginners need for creative looks?
A small kit covers most creative looks: one pigmented eyeshadow shade for color, a creamy eyeliner pencil for definition, a blending brush, and a cream color product that works on cheeks, eyes, and lips. The Ombres Artistiques eyeshadows at $32.00 and the Cream Dabber at $40.00 are good starting points because they are highly pigmented and blend easily. Add a tapered brush and a fine detail brush once you are comfortable with the basics.
How can I make a simple makeup look more artistic?
Add one unexpected element, such as a line of color along the lower lash line, a winged or graphic liner shape, or a wash of color on the lids. Keep the skin and brows understated so the artistic detail is the focus. Using a color family that repeats in your eyes and cheeks ties the look together and makes it feel deliberate rather than random.
How do I make artistic makeup last longer?
Apply a thin layer of eyeshadow primer before color, and let liner dry for a few seconds before blending. Pressing a small amount of translucent powder over the lids can help set creamy products. Reapply only the areas that fade mid-day, since over-layering often causes creasing.
